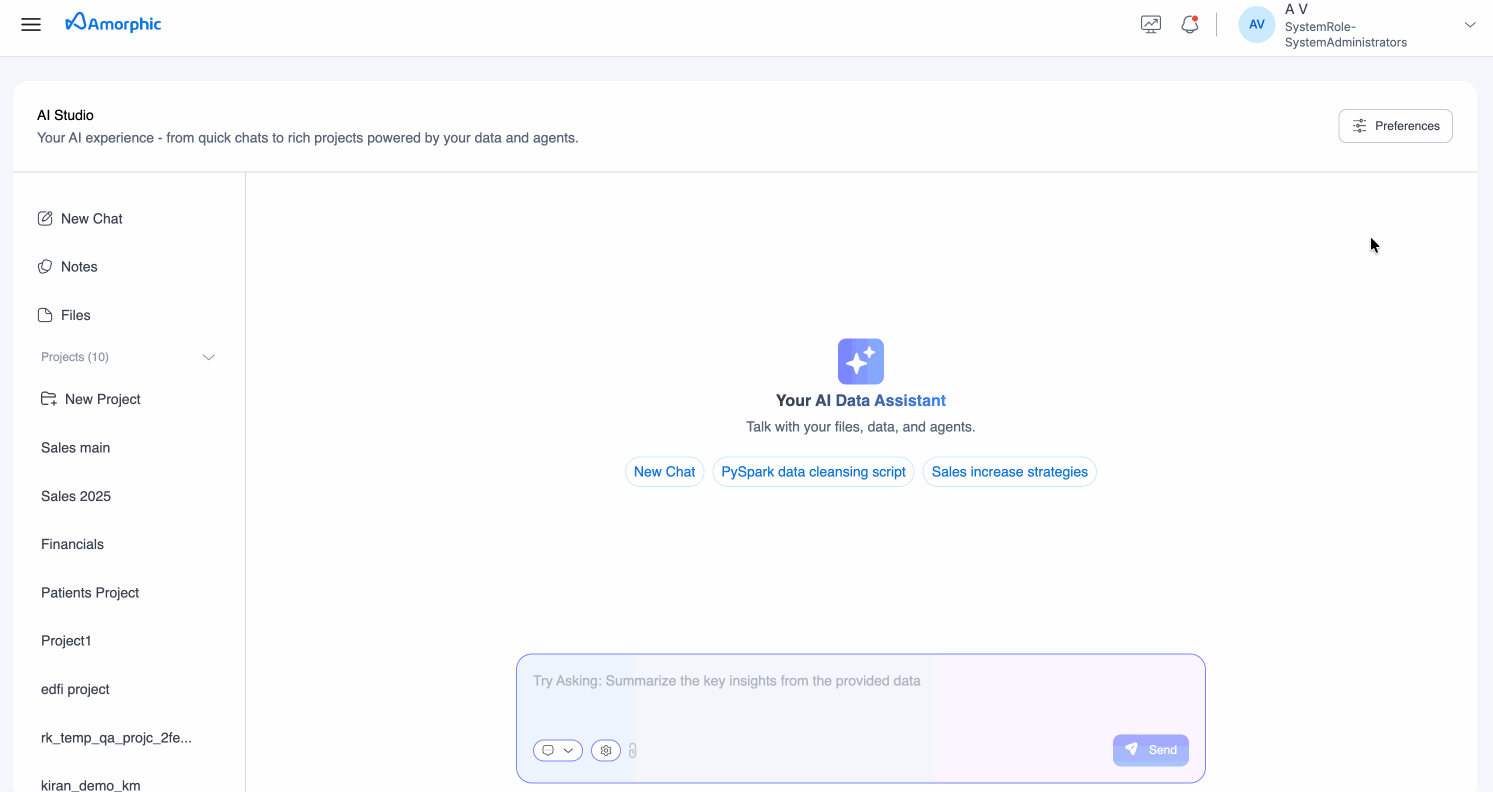
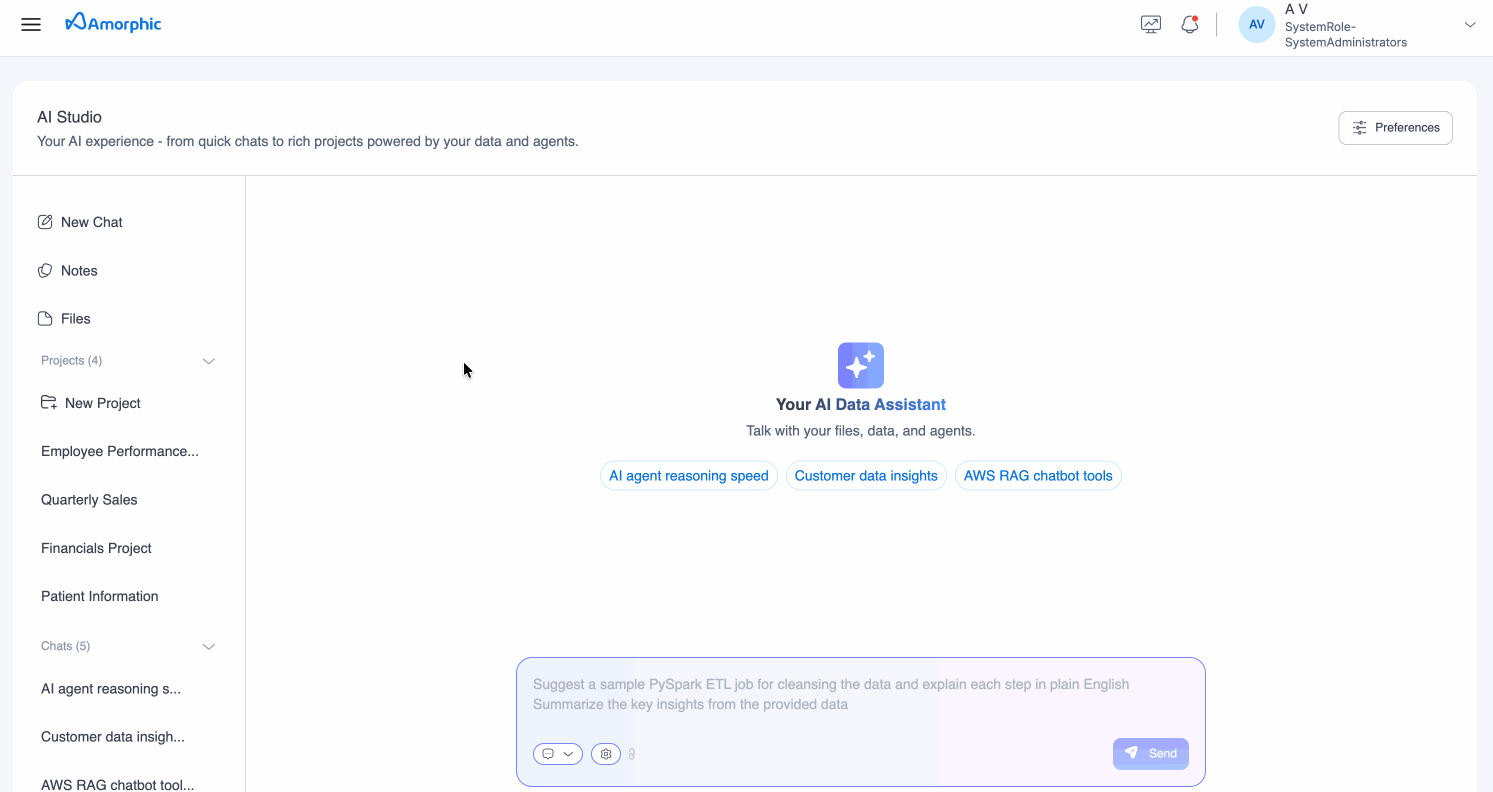
AI Studio
AI Studio is your comprehensive workspace for interacting with AI models, knowledge bases, intelligent agents, and applying guardrails for safe and controlled conversations. This unified platform enables you to leverage the full power of Amorphic's AI capabilities—combining natural language interactions, robust guardrails for safety and compliance, project management, and data-driven workflows.
Overview
AI Studio serves as your central hub for:
- AI Data Assistant: Talk with your files, data, and agents through an intuitive chat interface
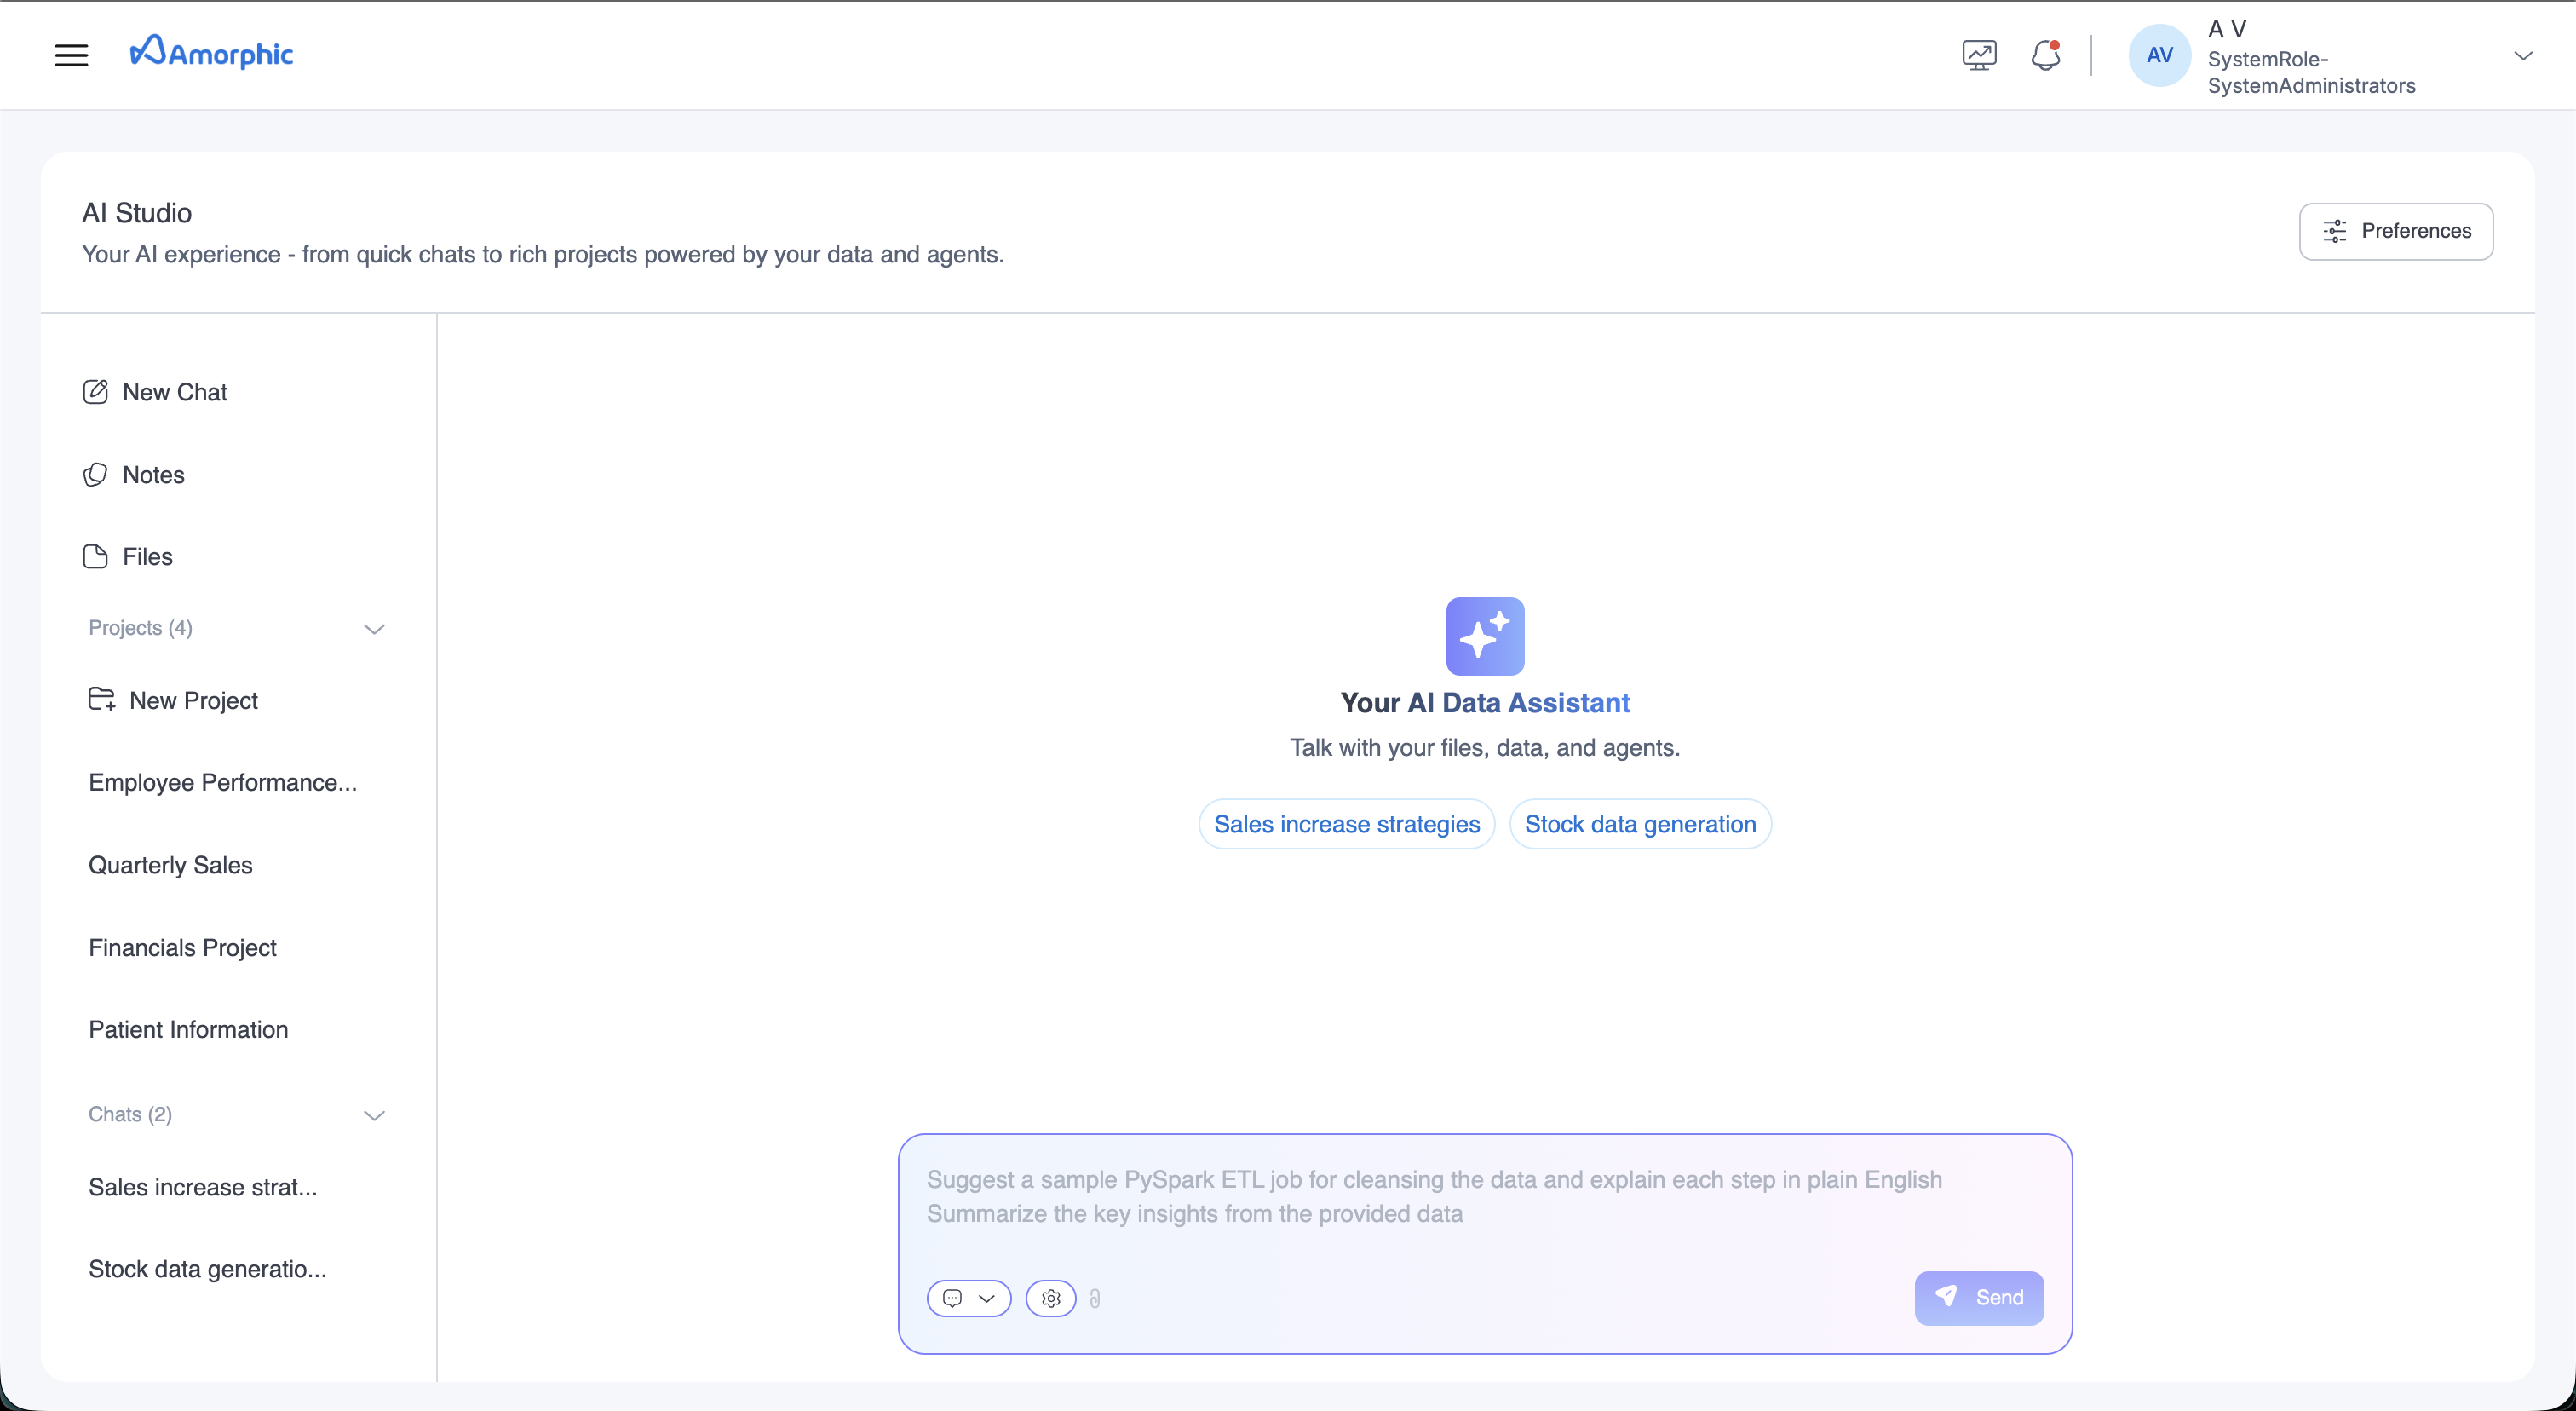
- Project Management: Organize and manage multiple projects that leverage AI capabilities
- File Management: Upload, organize, and query documents and data files
- Notes and Documentation: Capture and organize insights from your AI interactions
AI Studio requires Claude 4 Sonnet to be enabled, as the system uses this model internally. Additionally, any models you want to use for querying must be configured in the 'Chat Interactions' settings. For configuration details, see the Assign Models documentation.
Interface Overview
AI Studio features a clean, modern interface with:
Left Sidebar Navigation
The sidebar provides quick access to core features:
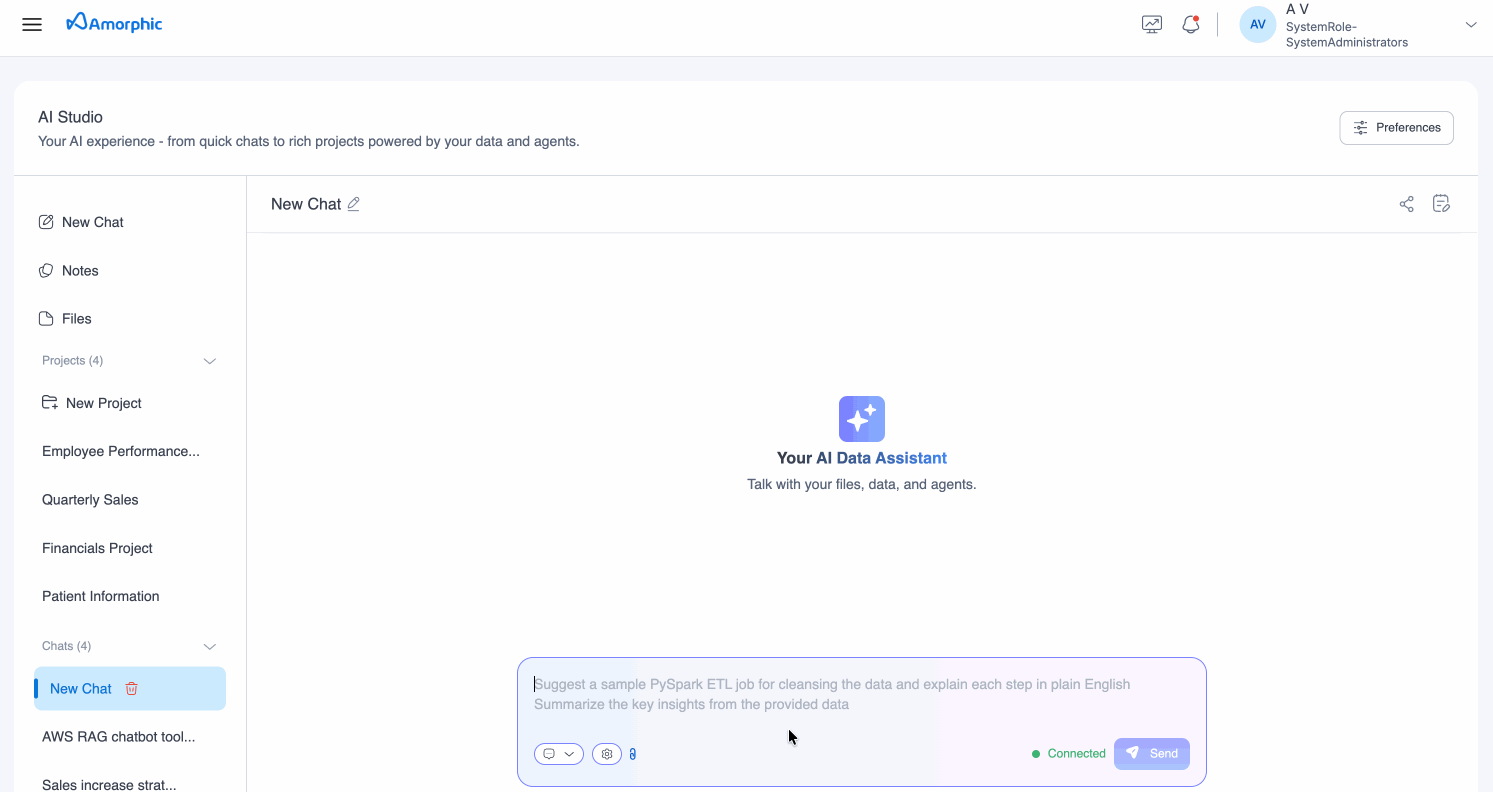
- New Chat: Create a new conversation session
- Notes: Access and manage your saved notes
- Files: Browse and manage uploaded files
- Projects: Organize your work into project-based sessions
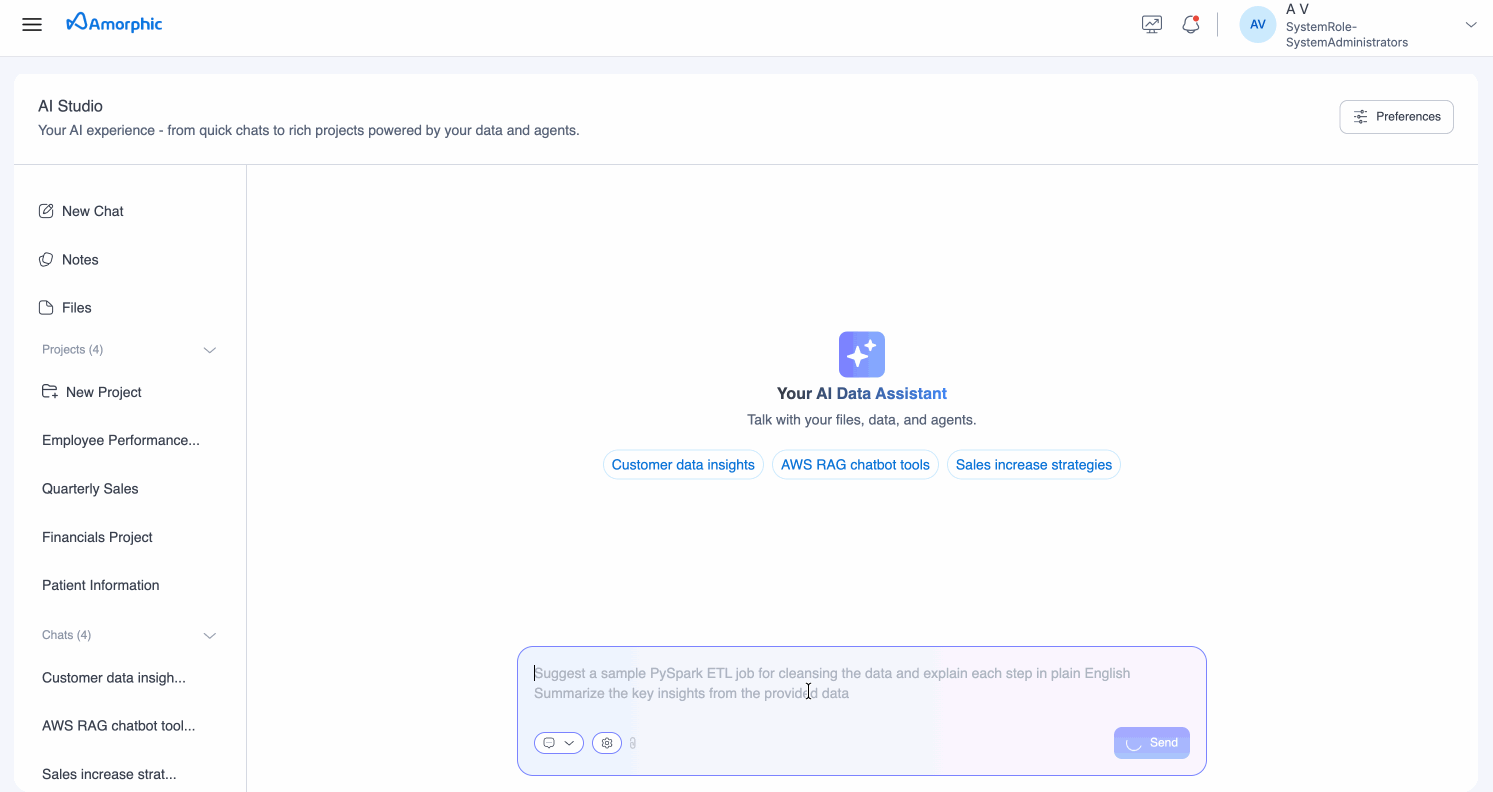
- Chats: View and resume previous chat conversations
Main Content Area
The central workspace displays:
- AI Data Assistant: Your primary interface for interacting with AI models, knowledge bases, and agents
- Recent Chats: Instantly access your most recent conversations
- Input Field: Multi-purpose input for queries, commands, and file uploads
Chat Preferences
Set retention periods for your chats and notes.
Key Features
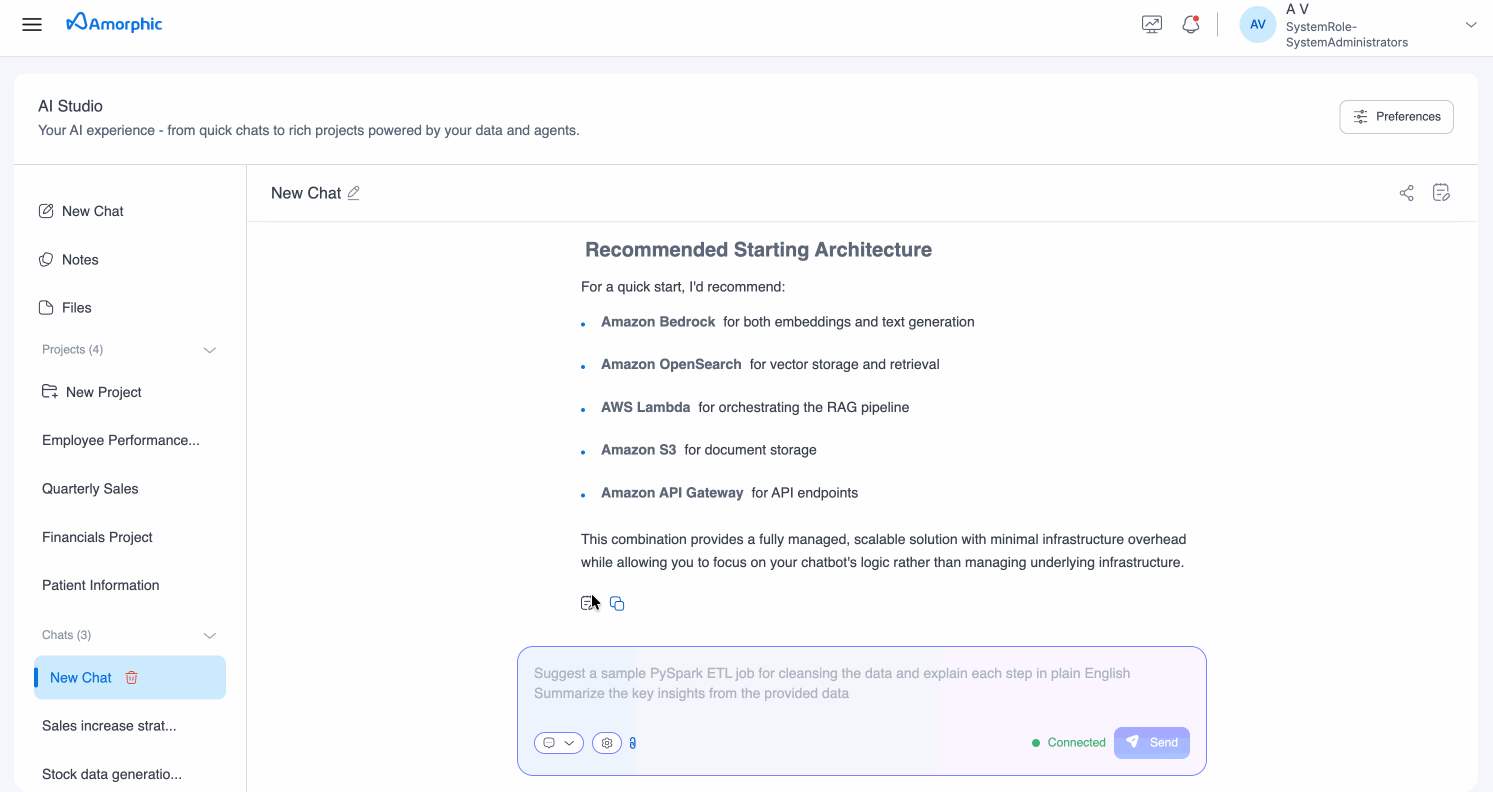
1. AI Data Assistant
The AI Data Assistant is your primary interface for engaging with Amorphic's AI capabilities:
Multi-Source Communication
The chat interface seamlessly integrates with different AI components:
- AI Models: Query different models and ask questions on top of your files
- Knowledge Bases: Query structured knowledge repositories with context-aware responses
- Agents: Interact with specialized AI agents designed for specific business functions
File Upload and Processing
- Document Upload: Upload documents directly to chat sessions using the attachment icon
- Multi-format Support: Support for PDF, TXT, CSV, TSV, JSON, XLSX, DOCX and MD file formats
- File Q&A: Select a file and ask questions on top of it. This is available when you select the Model option for querying
2. Projects
Organize your AI work into project-based sessions:
- Project Creation: Create new projects for specific initiatives or workflows that need to access knowledgebases or agents in a particular order or fashion
Example: A customer support workflow might require: (1) First query a knowledge base to find product documentation, (2) Then invoke a refund processing agent if a refund is needed, (3) Finally invoke a follow-up agent to schedule customer satisfaction surveys. Create a project with these knowledge bases and agents, then add custom instructions like: "When handling support requests, first search the product documentation KB. If a refund is requested, use the refund agent. After resolution, use the survey agent to schedule follow-up."
- Project Organization: Group related chats, files, and notes within projects
- Project Management: Access and manage multiple projects from the sidebar
Projects help you maintain context and organization for complex, multi-session AI interactions.
3. Files Management
The Files section, accessible from the left sidebar, provides centralized file management for all your ad-hoc documents and data:
Accessing Files
- Click Files in the left sidebar to view your file library
- Browse all uploaded files in one centralized location
- Files are organized for easy navigation and retrieval
File Operations
- File Upload: Upload documents directly through the Files interface or via the attachment icon in chat sessions
- File Browsing: Navigate through your document library with organized file listings
- File Preview and Download: Preview files directly within the interface and easily download any document to your local device
- Move Files to Datasets: For more persistent storage, these files can be moved to a dataset
- File Selection: Select files to view details, attach to chats, or use in queries
- Quick Access: Easily attach files to new or existing chat sessions using the attachment icon in the input field
File Integration with Chat
- Direct Upload: Use the paperclip (attachment) icon in the chat input field to upload files directly to your conversation
- File Q&A: Once uploaded, select files and ask questions about their content when using the Model query option
- Context Preservation: Files attached to chats remain accessible throughout the conversation session
Uploaded files in the Files section and chat sessions are temporary and will be automatically cleaned up after 1 day. For long-term or persistent storage, move important files to a Dataset using the "Move to Dataset" action.
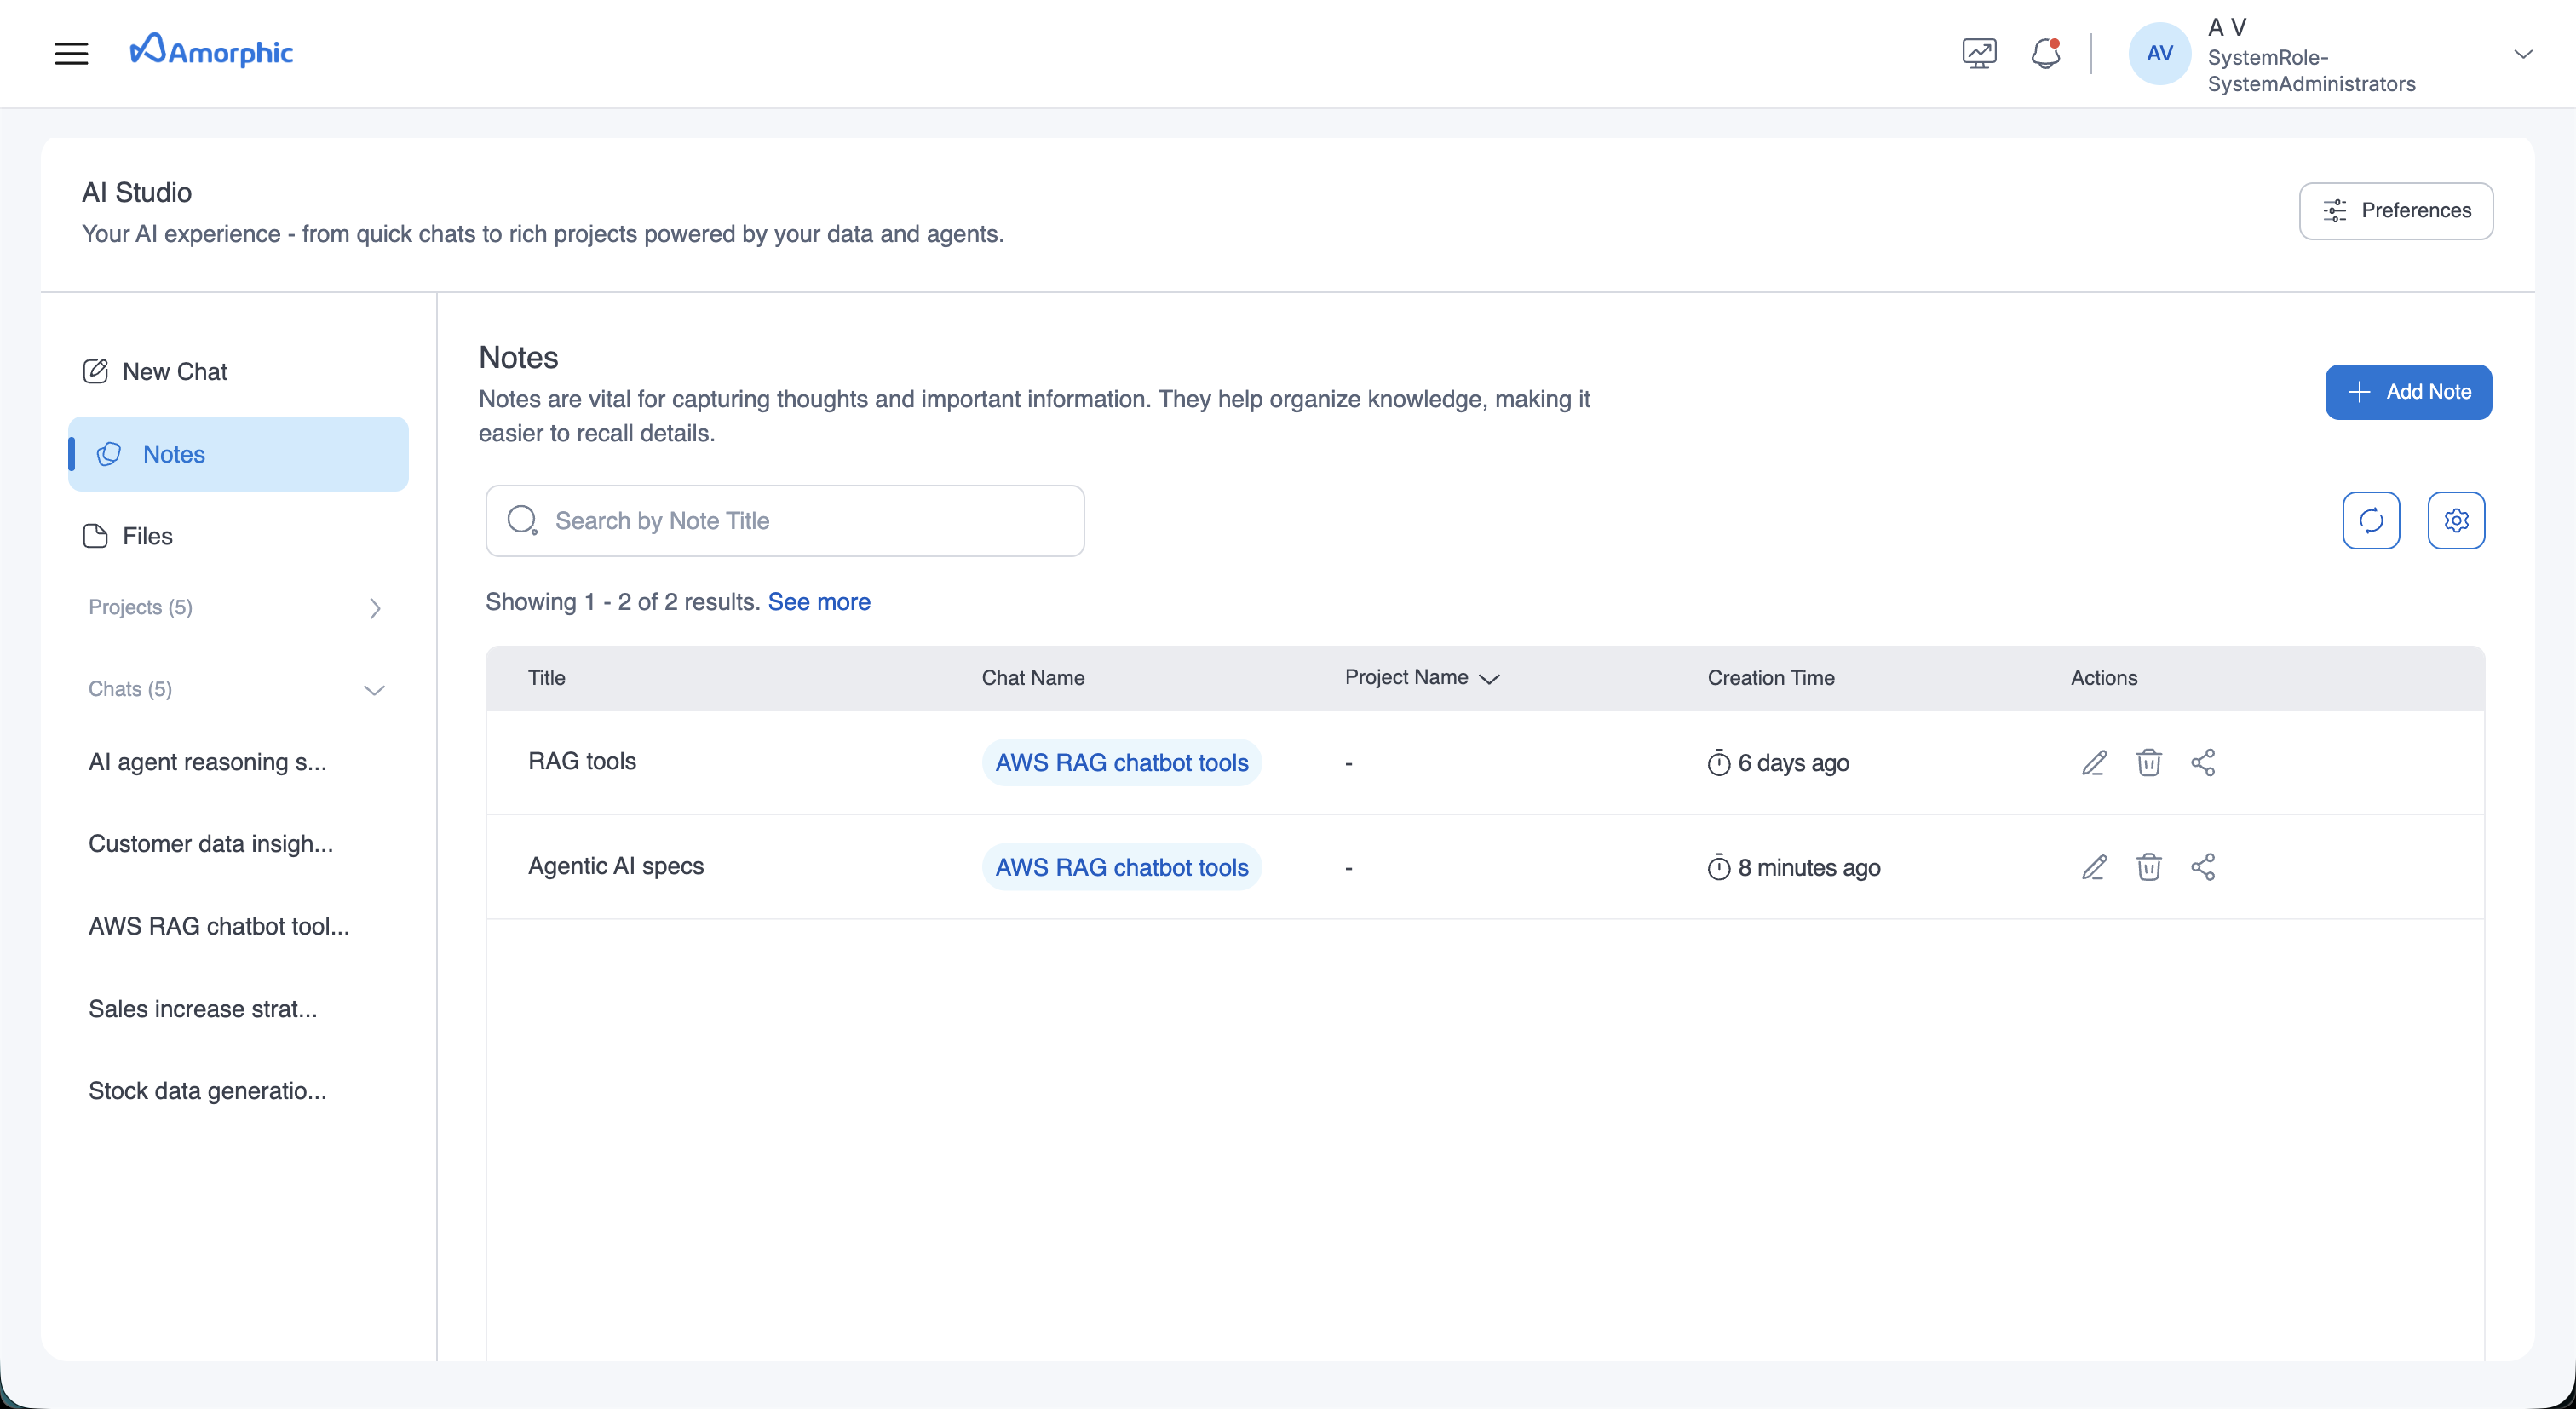
4. Notes and Documentation
Notes are vital for capturing thoughts and important information. They help organize knowledge, making it easier to recall details.
Creating Notes
- Custom Notes: Create personalized notes based on chat responses
- Copy and Format: Extract and format important information for later reference
- Rich Text Storage: Store formatted text with styling, links, and structure
- Add Note Button: Use the prominent "+ Add Note" button in the Notes interface to create new notes
Notes Management Interface
The Notes section, accessible from the left sidebar, provides a comprehensive interface for managing all your notes:
Interface Overview
- Search Functionality: Use the "Search by Note Title" search bar to quickly find specific notes
- Notes Table: All notes are displayed in a structured table format with the following columns:
- Title: The name of the note
- Chat Name: The associated chat conversation
- Project Name: The project the note belongs to
- Creation Time: When the note was created
- Actions: Quick action icons for each note
Action Buttons
- + Add Note: This can be used to create a new note without any chat associations
Managing Your Notes
Once you've created notes from your chat conversations, you can perform the following operations directly from the Notes table:
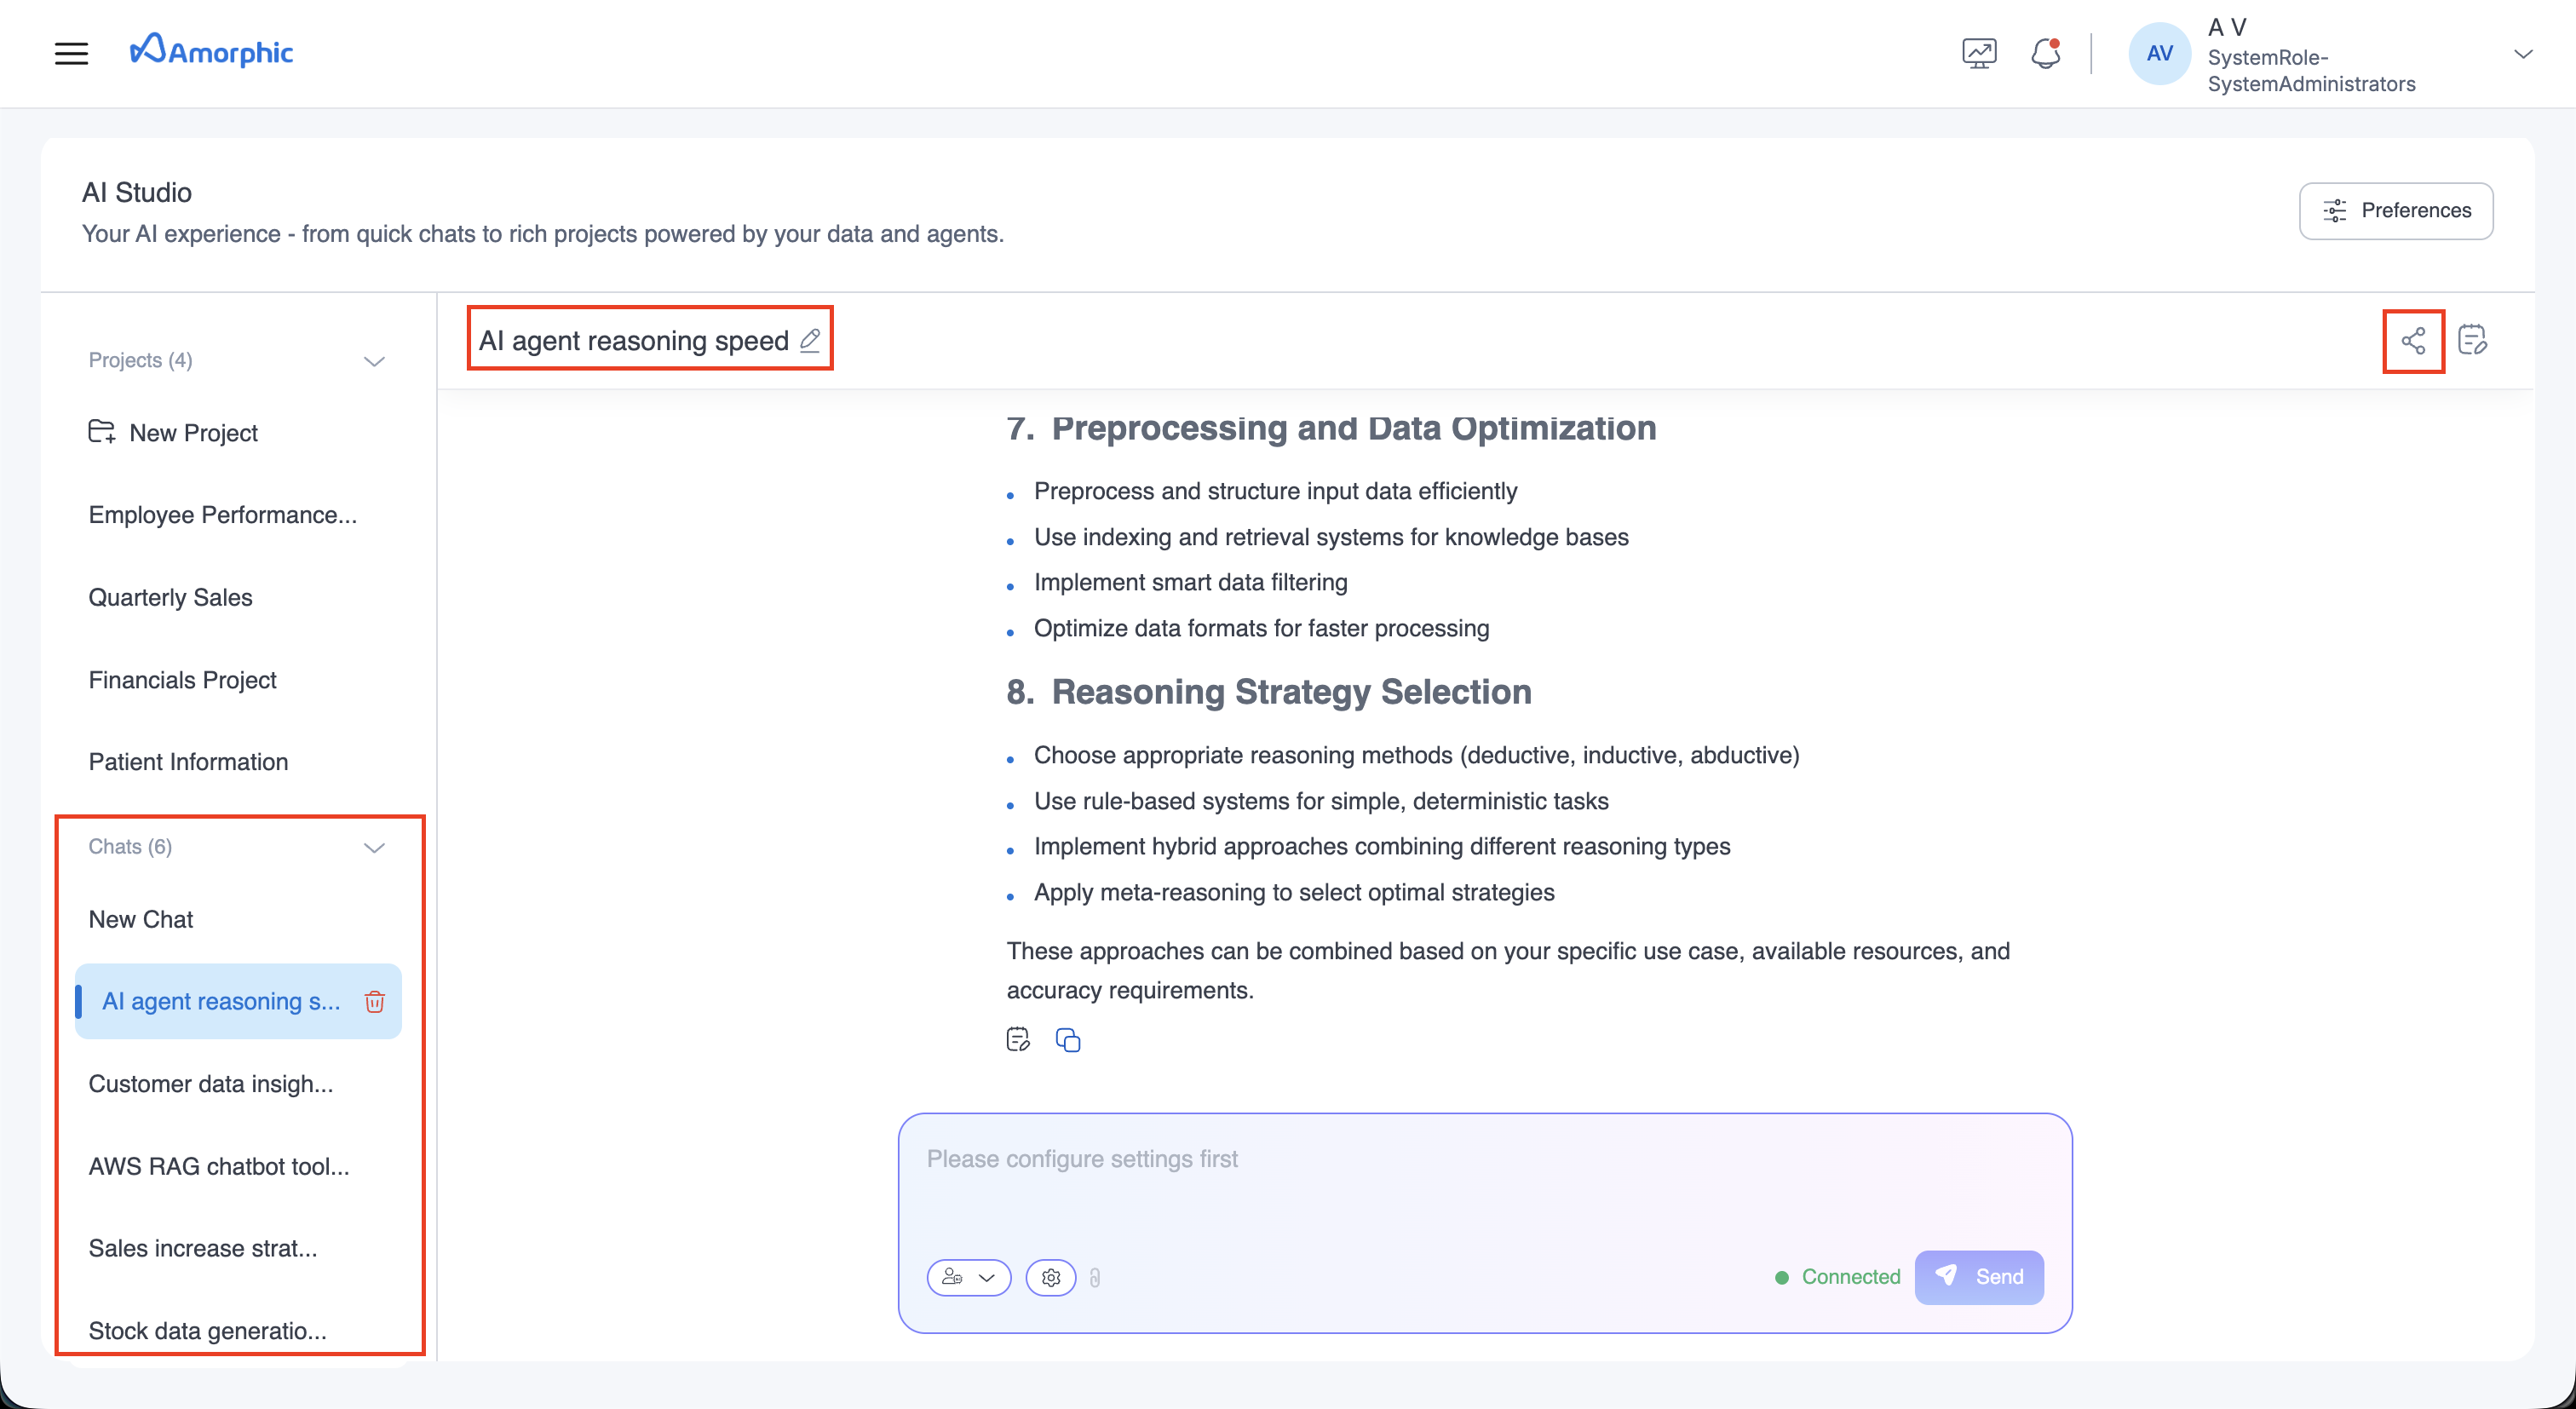
Edit Notes
- Edit Icon: Click the pencil icon to modify existing notes
- Update Content: Add more information or correct details
- Format Changes: Update formatting and structure of saved notes
Delete Notes
- Delete Icon: Click the trash can icon to remove unwanted notes
- Permanent Deletion: Notes are permanently removed from your workspace
Share Notes
- Share Icon: Click the share icon to collaborate with other users
- Team Collaboration: Share notes with other users in your organization
- Insight Sharing: Collaborate on important conversation insights with colleagues
- Permission Control: Grant read or edit permissions to team members for specific notes
Getting Started
Creating a New Chat Session
- Navigate to AI Studio from the main menu
- Click New Chat in the left sidebar to create a new conversation session
- Choose your chat configuration:
- Select an AI model from available options
- Optionally connect to a knowledge base
- Choose an agent if applicable
- Begin your conversation by typing a message in the input field at the bottom

Chat Configuration Options
The chat configuration varies depending on what you choose to query:
Model Configuration
When querying a model directly, your configuration includes:
- Model: Choose from available foundation models
- Guardrails: Apply content filtering and safety measures on requests and responses
- Inference Parameters: Configure temperature, max tokens, and other model-specific settings
Knowledge Base Configuration
When querying a knowledge base, your configuration includes:
- Model: Select the underlying model for processing queries
- Knowledge Base: Choose which knowledge base to query
- Inference Parameters: Configure model behavior for knowledge retrieval
Agent Configuration
When querying an agent, your configuration includes:
- Agent Selection: Choose the specific agent to interact with

Input Field Features
The bottom input field provides several options:
- Dropdown Menu: Access additional configuration options
- Settings Icon: Configure chat configurations
- Attachment Icon: Upload files directly to your chat session
- Send Button: Submit your query to the AI Data Assistant
Managing Chats
View All Chat Sessions
- Access your chat history from the Chats section in the left sidebar
- Chats are organized chronologically with the most recent conversations at the top
- Each chat session displays its name for easy identification
- Chat titles can be renamed
Resume Previous Conversations
- Click on any chat from the history to continue the conversation
- Full context and history are preserved
- Upload history and file attachments remain accessible
Delete Sessions
- Remove unwanted chats from your history
- Deletion is permanent and cannot be undone
- Associated files are also removed
Chat Preferences
The Chat Preferences option lets you set your personal default retention period for chats and notes. This setting determines how long your chat data is kept and applies only to your user.