
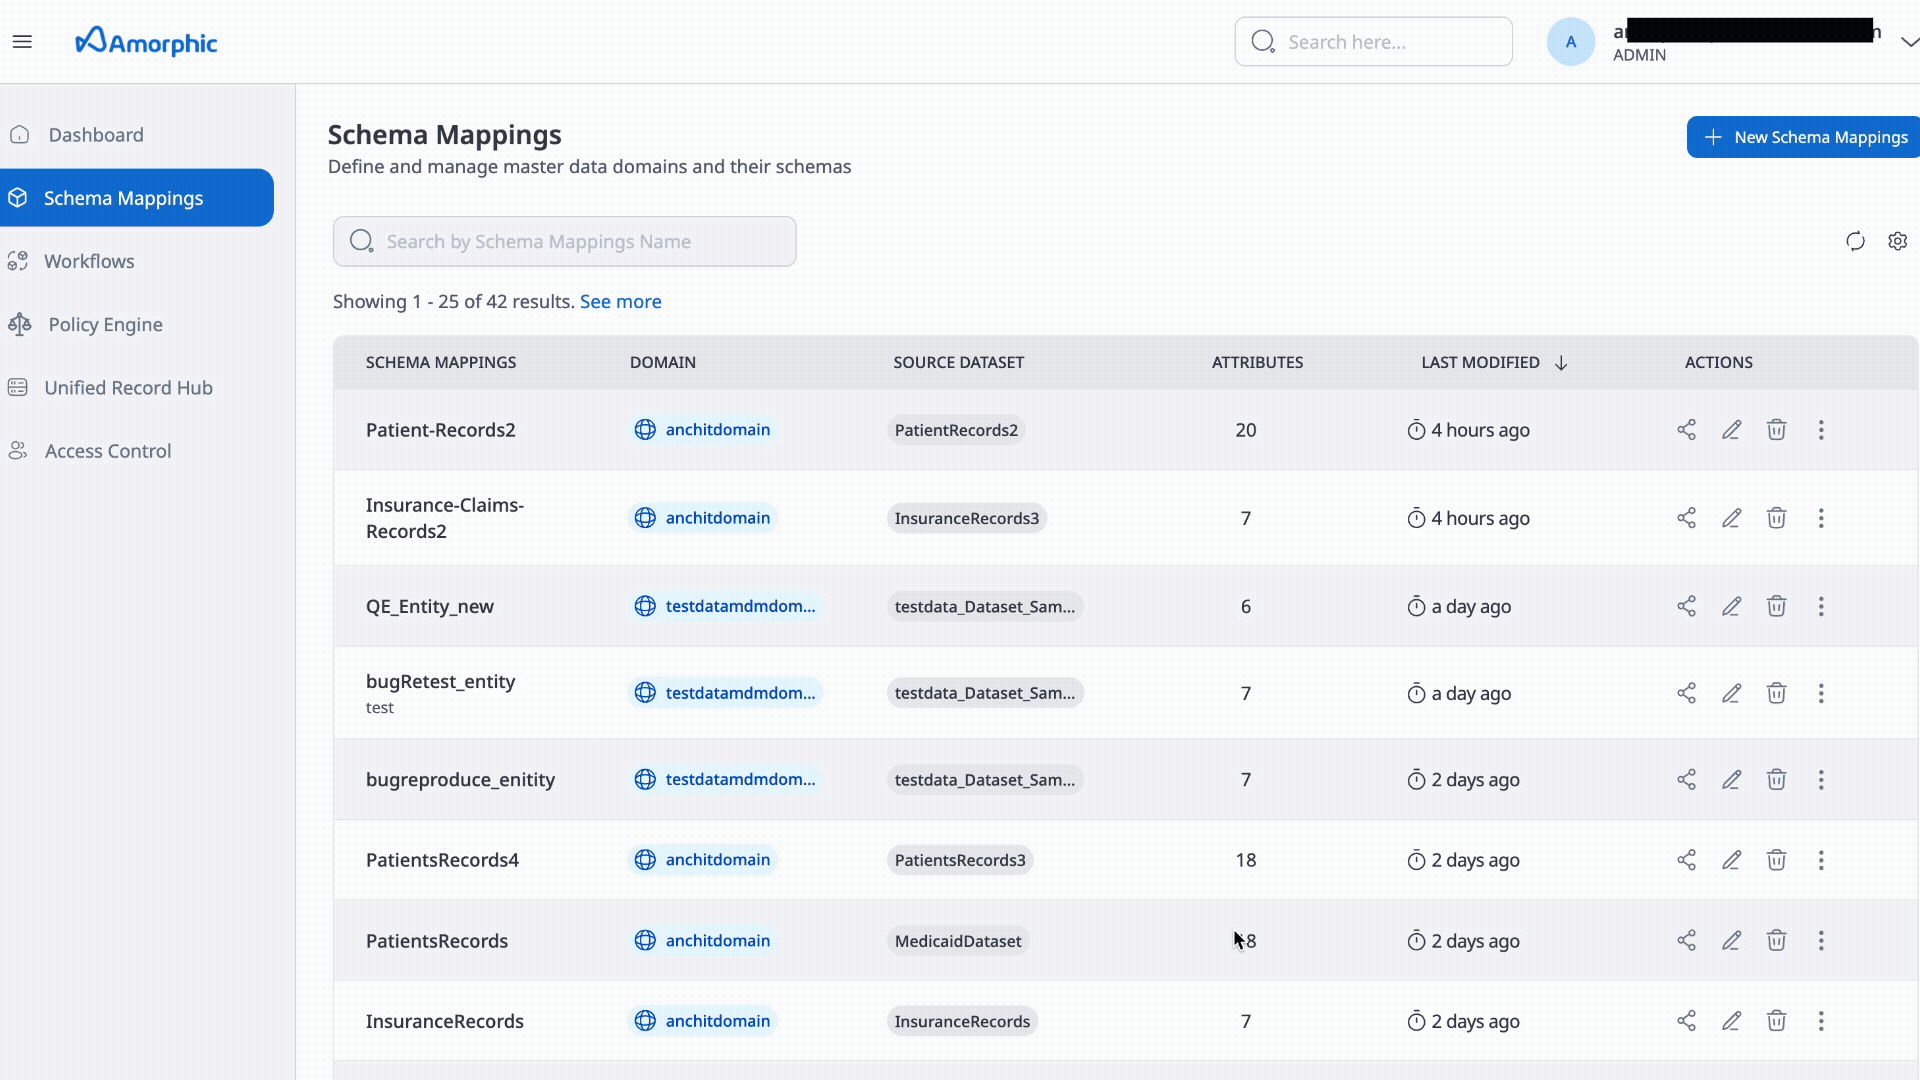
Schema mapping
What is a schema mapping?
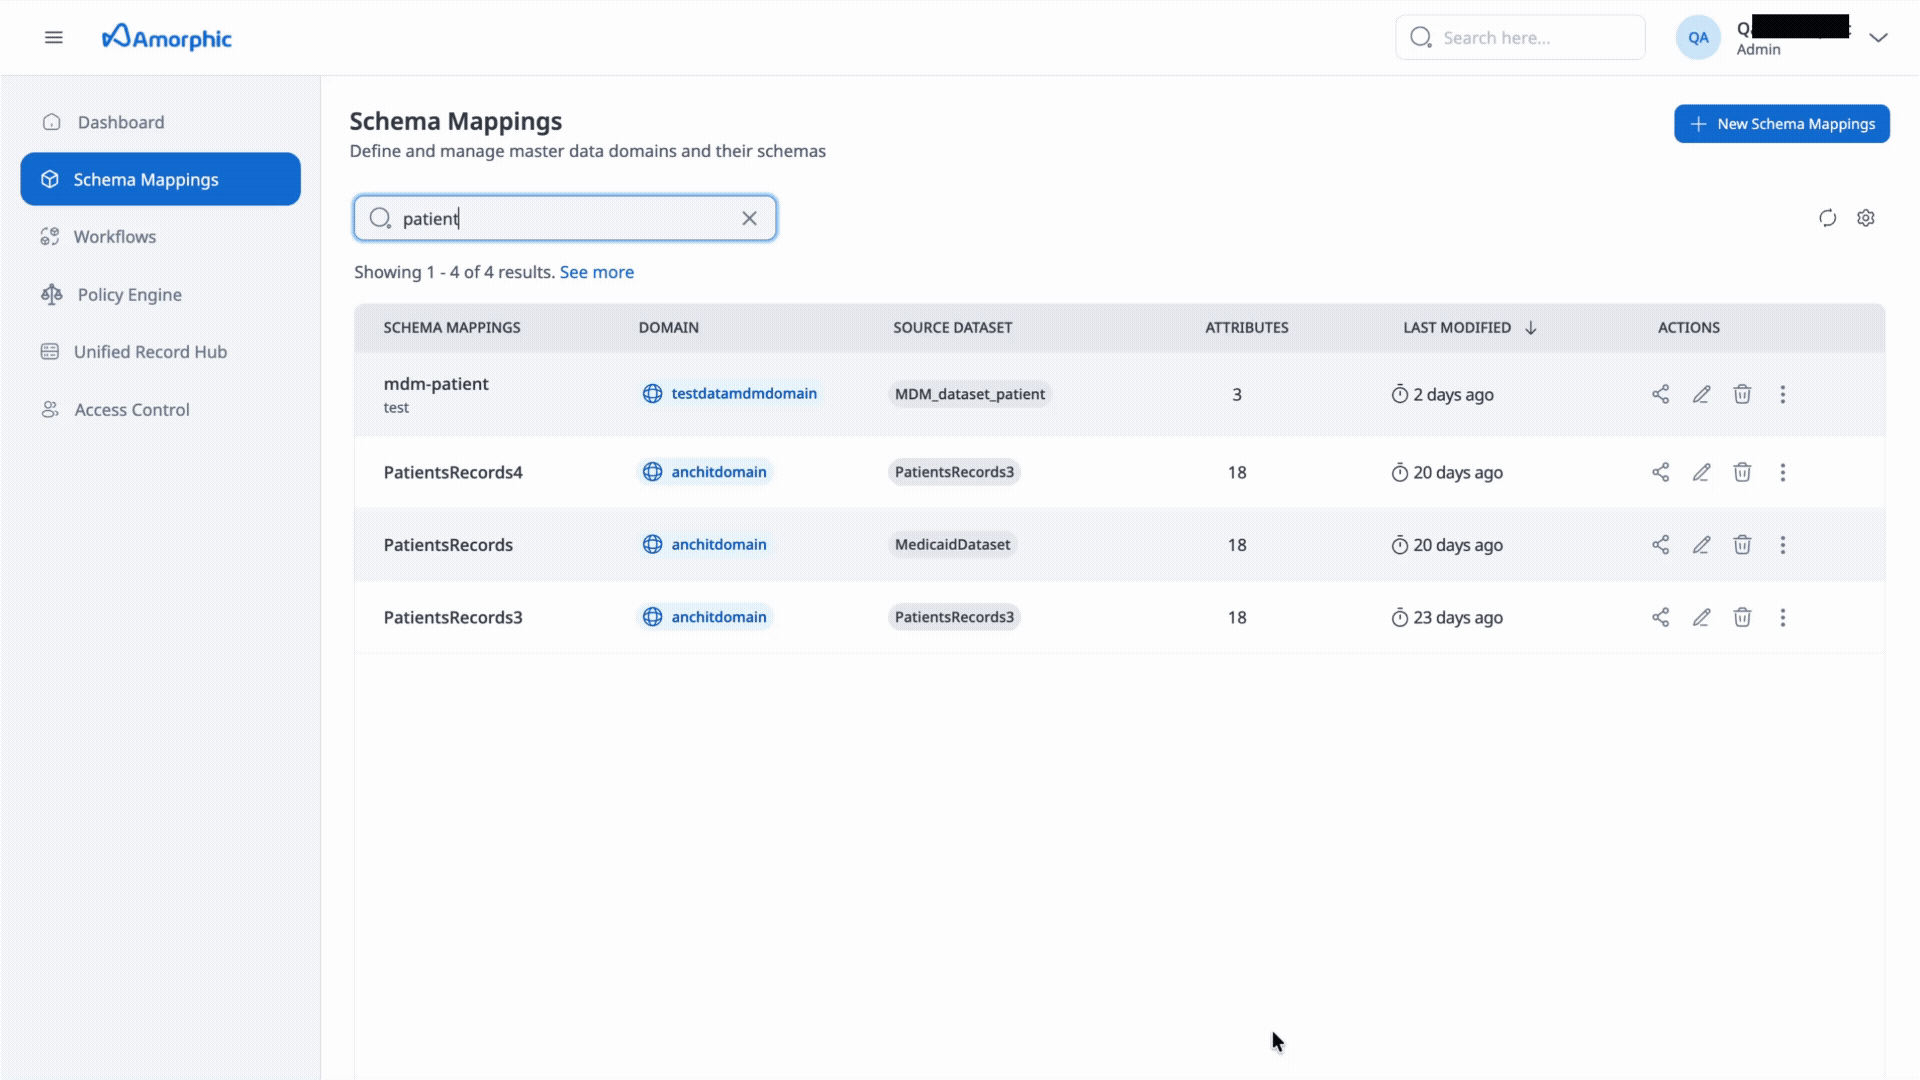
A schema mapping defines the input data that you want to resolve and how it should be interpreted for matching. It provides metadata about your input data, such as the attribute types of the columns (input fields) and which columns to use for matching.
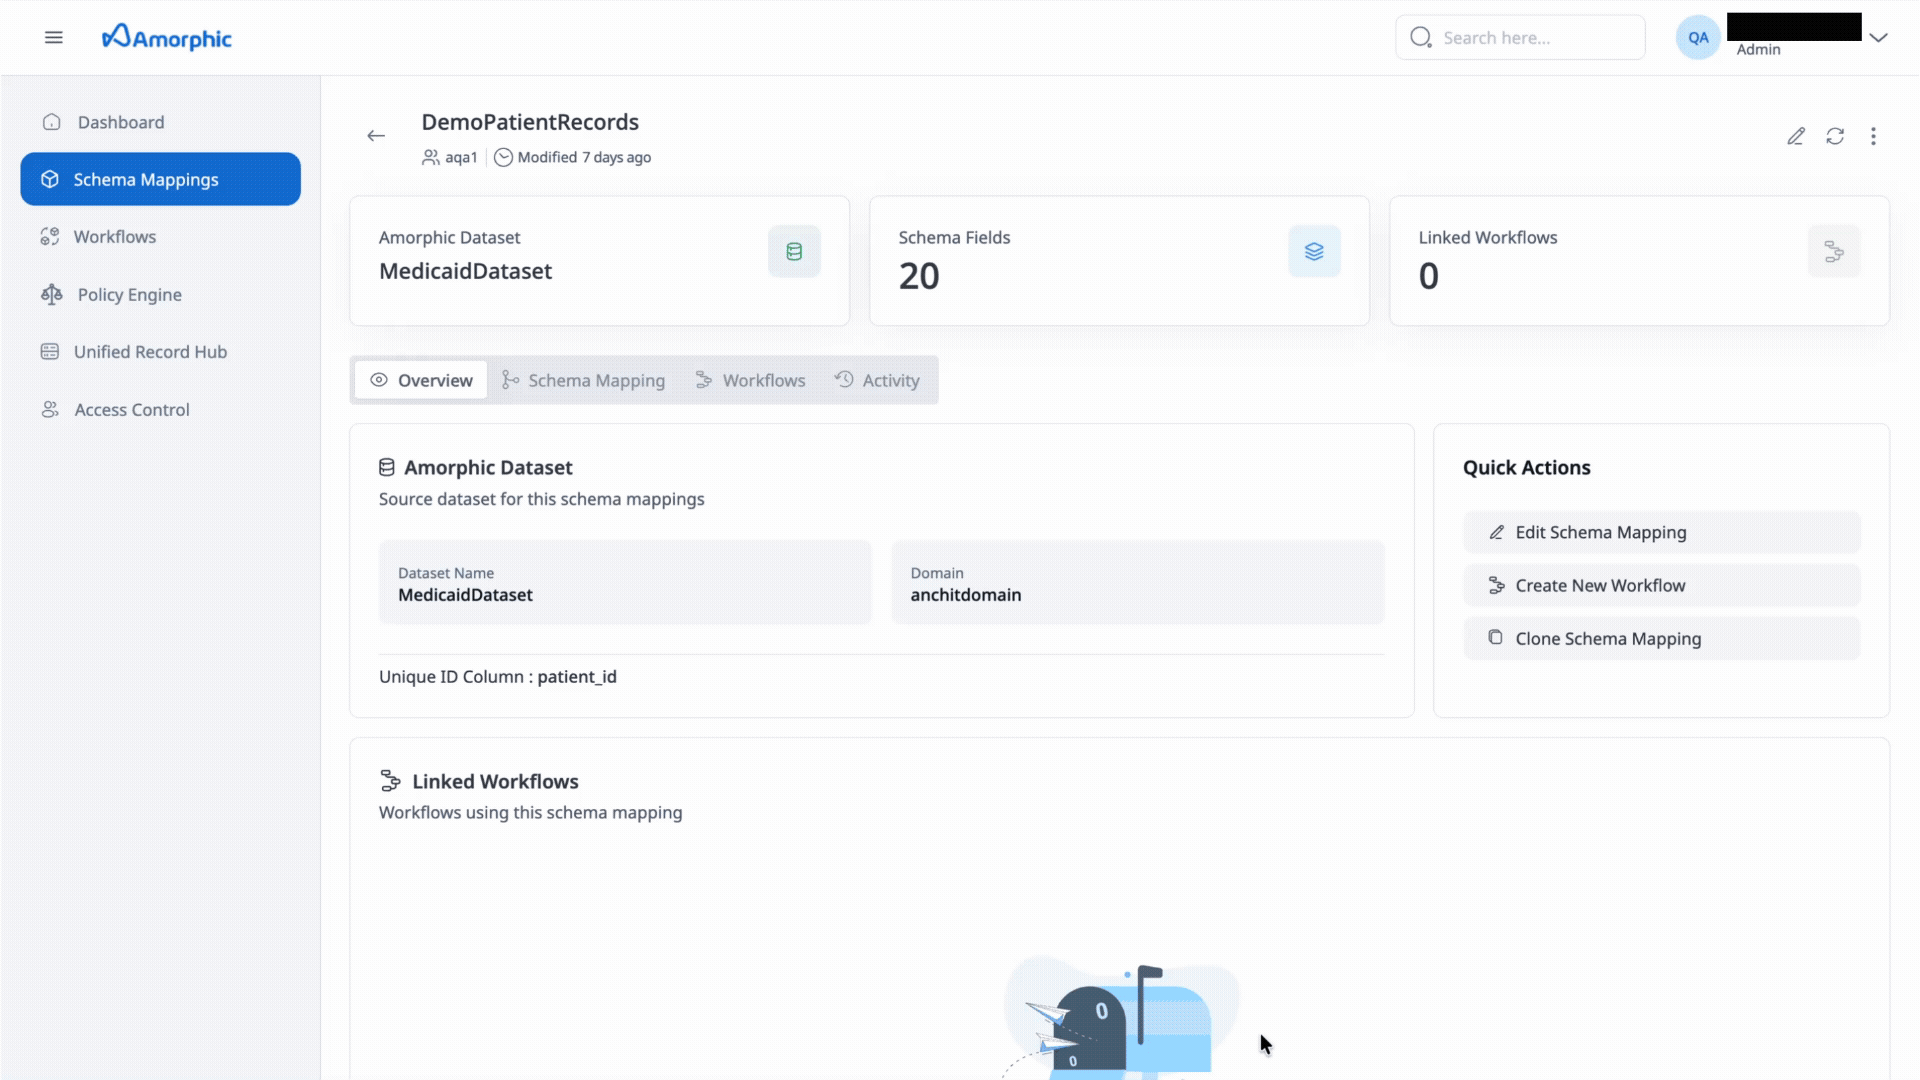
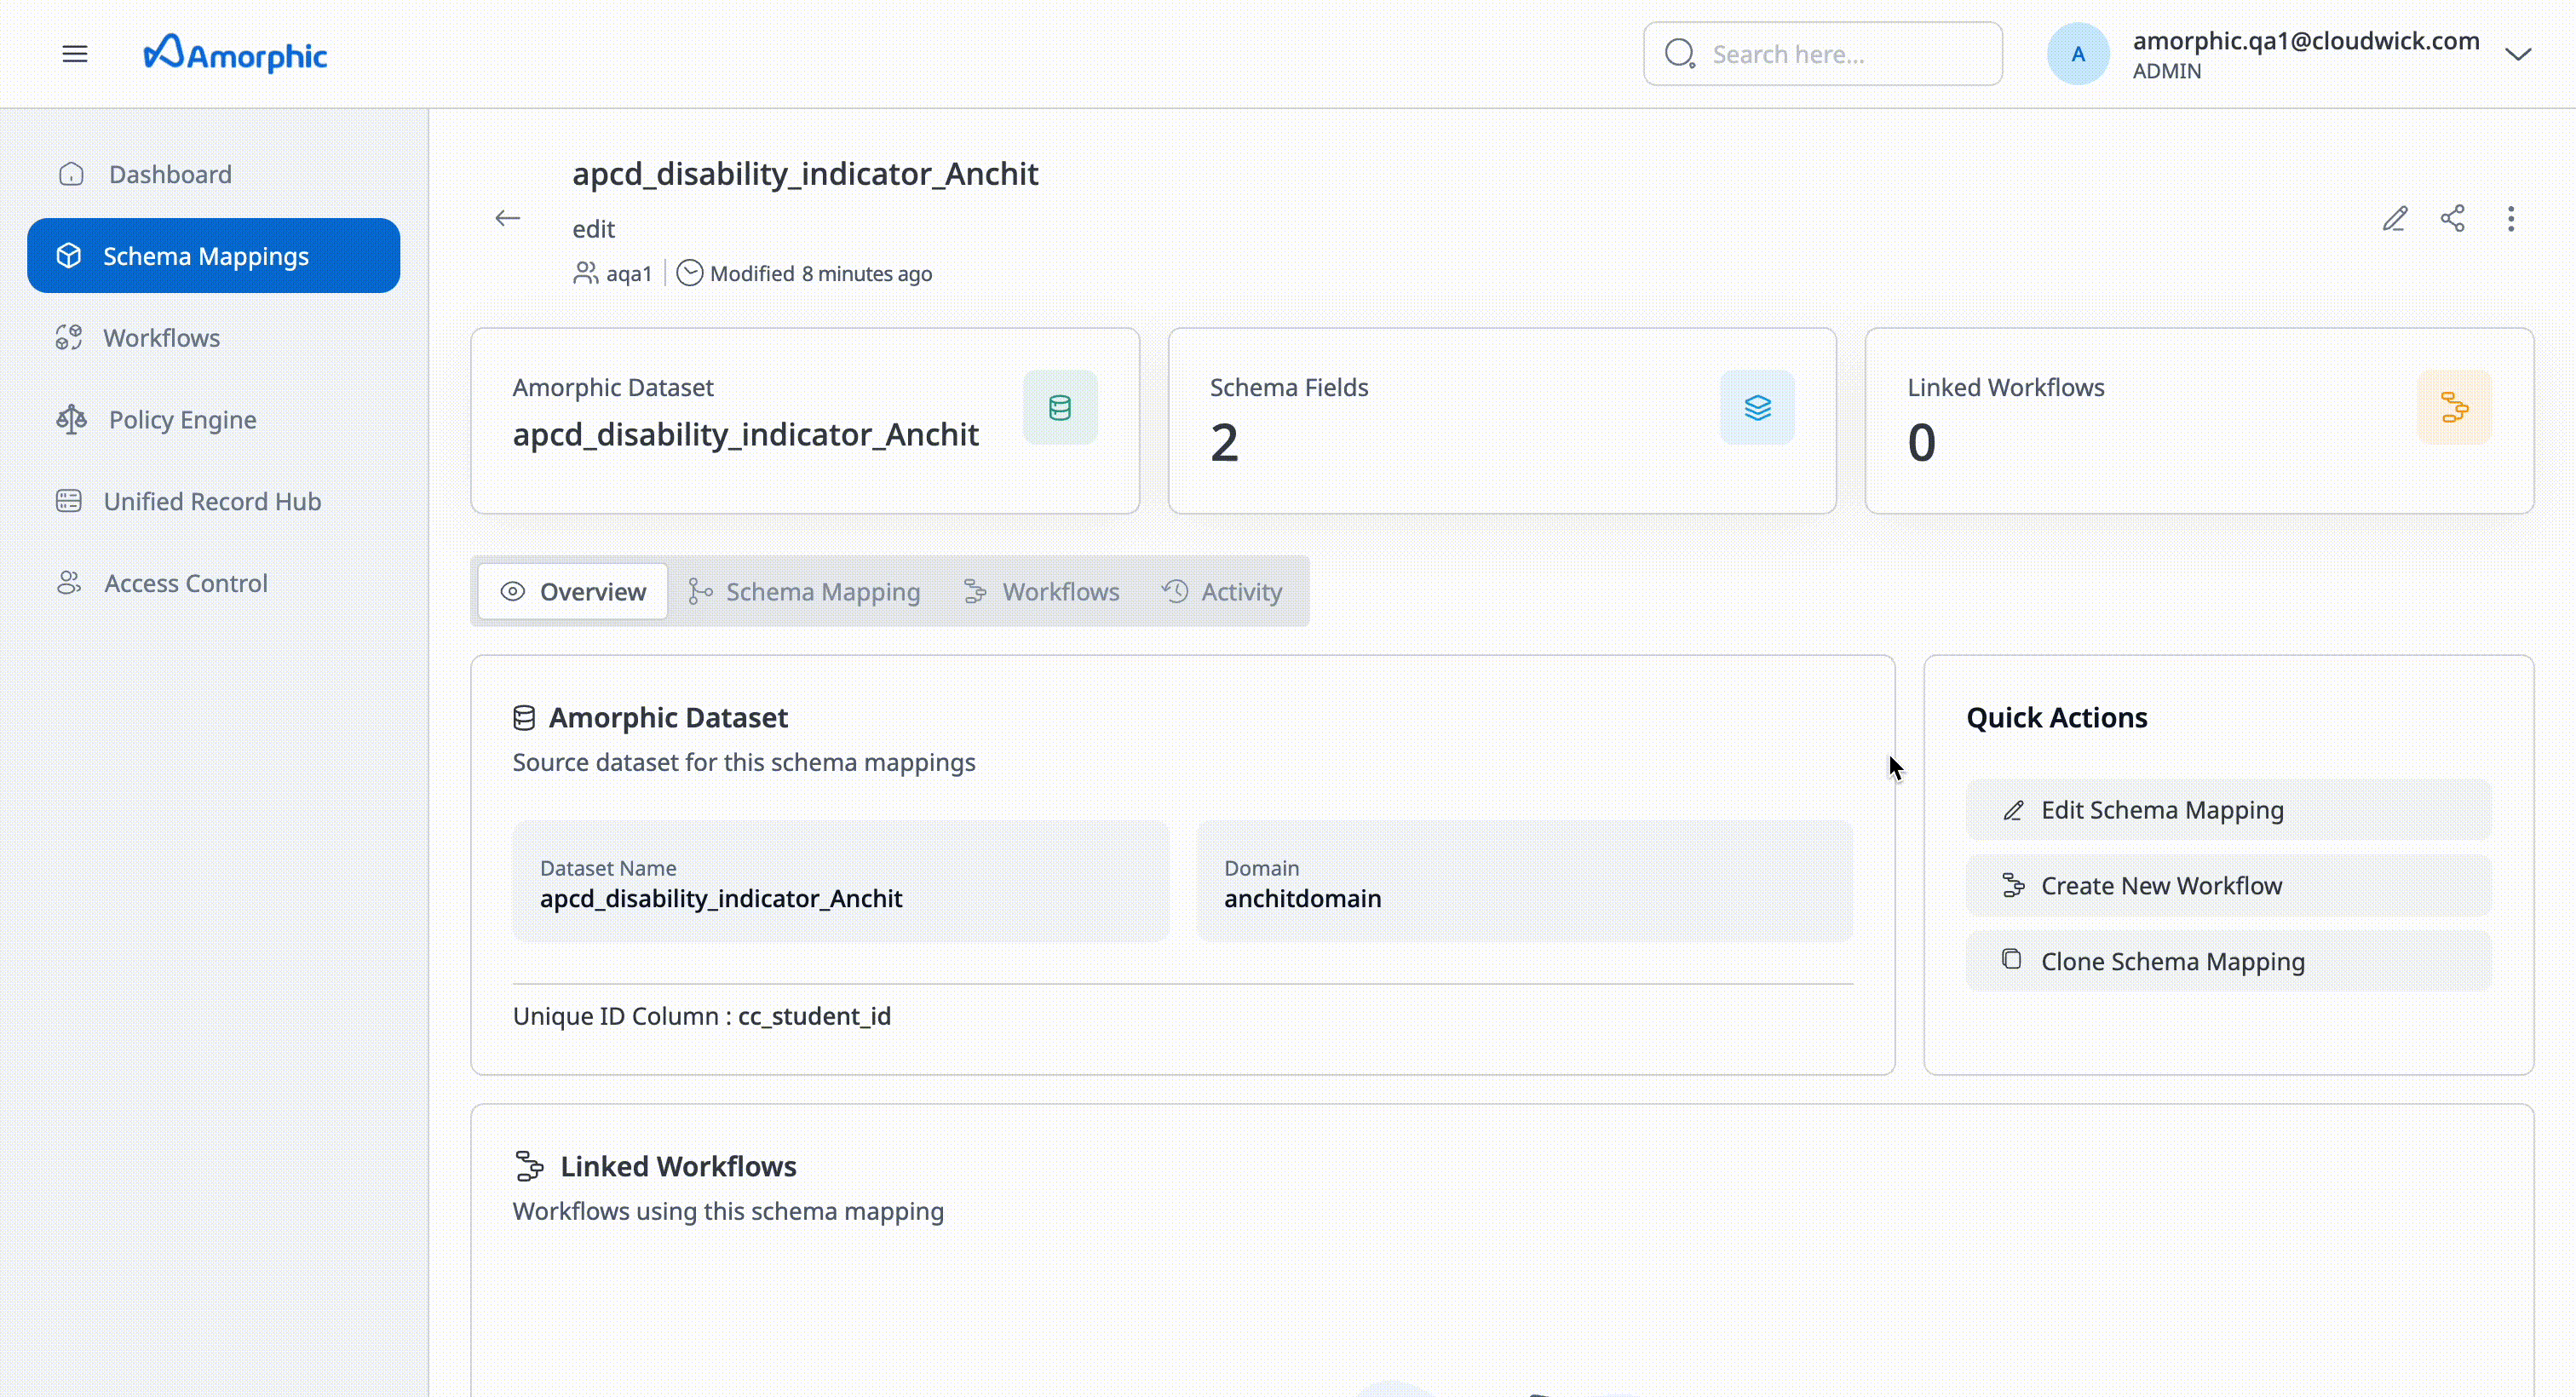
In Schema mapping section one can observe following four sections:
- Overview: User can see the amorphic datasets which are being used as source datasets for the Schema mapping.
- Schema Mapping: Fields included in output used as input fields for matching.
- Workflows: List workflows where the Mapping is being used.
If workflows use this schema mapping, user may need to unlink or delete those workflows before they can delete the mapping. When user try to delete a schema mapping that is in use, the app may show a list of linked workflows so you can unlink or remove them first.
- Activity: Recent changes and events for this Schema Mappings
How schema mapping works
When data comes from different sources—such as sales systems, customer support platforms, or marketing databases—each source may store the same information in different ways. For example:
- One system might have a field called "Customer Name"
- Another might use "Full Name"
- A third might split it into "First Name" and "Last Name"
A schema mapping lets you map these different column names to a single, standardized structure. The MDM service can then compare and match records from different sources even when field names or formats differ.
How to create a schema mapping
Follow these steps to create a new schema mapping:
-
Enter name: Provide a unique name for your schema mapping. This name must be unique across the platform.
-
Add description (optional): Optionally provide a description that explains the purpose or scope of this schema mapping.
-
Select Amorphic dataset details: Choose the Amorphic dataset that will serve as the data source. This dataset contains the raw input data that will be processed using this schema mapping.
-
Enter domain and dataset name: Specify the domain name and dataset name that identify the source dataset in Amorphic.
-
Enter Unique ID: Define the column that uniquely identifies each record in your dataset. This identifier is used to distinguish individual records during processing. The Unique ID must be unique within a single source.
-
Select input fields: Choose which columns from your dataset will be used for matching and (optionally) for pass-through. These are the input fields that the system will use to identify when multiple records refer to the same real-world entity. You can also specify which fields should be skipped.
NoteDo not use any of the following reserved names as a column name in your data when running machine learning-based matching workflows: "MatchId", "MatchRule", RecordId, SourceId" and "TargetId". Using any of these reserved names will result in naming conflicts and failed ML-based matching workflows.
-
Map attribute types: For each input field, specify the attribute type to classify the data (e.g. name, address, email, phone). This tells the system the nature and format of the data for processing and matching.
-
Select match key: Assign a match key to enable comparison in the matching workflow. Match keys group input fields so the system can treat related fields as a single unit for comparison.
For example, if your source table has
business_addressandshipping_address, you can assign both to a match key such asaddressso the system can compare and match records based on any of these address fields. -
Group data: If name, address, or phone data is split across multiple columns, use groups to concatenate related input fields into one. Grouping lets you compare them as one field in the matching workflow.
Grouping rules (create/update)
When configuring groups, keep these rules in mind:
- Same target field: All selected fields in the same group must map to the same target field.
- No duplicate match types: Do not put two fields with the same match type in one group (for example, two fields both with
NAME_FIRST). - Same category, same level: Fields in one group must be from the same category and at the same level:
- Allowed: Subtypes of the same category together (e.g.
NAME_FIRSTandNAME_LAST). - Not allowed: Subtypes from different categories in one group (e.g.
NAME_FIRSTandADDRESS_STREET1). - Not allowed: Mixing a main type with its subtype in one group (e.g.
NAMEwithNAME_FIRST, orADDRESSwithADDRESS_STREET1).
- Allowed: Subtypes of the same category together (e.g.
Required attribute types for ML matching workflows
When defining a Schema Mapping intended to be used as a source for an ML–based matching workflow, the souce dataset must contain at least one of the columns mentioned below mapped to it's appropriate Attribute Type in the Schema Mapping.
- Any name related column mapped to attribute type FULL_NAME. OR
- Any phone number related column mapped to attribute type FULL_PHONE. OR
- Any email address related column mapped to attribute type EMAIL. OR
- Any address related column mapped to attribute type FULL_ADDRESS. OR
- Any Date of Birth related column mapped to attribute type DATE and match key as Date of Birth. OR Do not set the attribute type for any of these attributes to Custom string; use the supported attribute types above.
How to edit a schema mapping
Only CUSTOM schema mappings can be updated. Template-based or system schema mappings cannot be edited.
Navigate to edit icon present mid right corner of Schema mapping detials page and follow these steps to edit a schema mapping:
-
Add description (optional): Optionally provide a description or edit existing one.
-
Select Amorphic dataset details: Select a different Amorphic dataset or continue with the existing one.
-
Edit Unique ID: Define the column that uniquely identifies each record in your dataset or select another attribute that uniquely identifies each record.
-
Edit input fields: Add, remove, or change which columns are used for matching and pass-through. You can include new columns from the source dataset or exclude existing ones.
-
Map attribute types: Update the attribute type for any input field (e.g. name, address, email, phone). Changing the attribute type updates how the system interprets the data for processing and matching.
-
Select match key: Change the match key assigned to input fields. You can assign a different match key to a field or group additional fields under the same match key for comparison in the matching workflow.
For example, you can assign both
business_addressandshipping_addressto the same match key (e.g.address) so the system compares and matches records using either field. -
Group data: Add, remove, or change groups so that related input fields (e.g. name, address, or phone split across columns) are concatenated and compared as one field in the matching workflow.
How to delete a schema mapping

- Navigate to three dots present at mid right corner of Schema mapping details page, just above details.
- Option to delete the Schema mapping will appear and click on it to proceed with delete.
If workflows use this schema mapping, you may need to unlink or delete those workflows before you can delete the schema mapping. When you attempt to delete a mapping that is in use, the app may show a list of linked workflows so you can unlink or remove them first.
How to clone a schema mapping
- Navigate to three dots present at mid right corner of Schema mapping details page, just above details.
- Option to clone the Schema mapping will appear and click on it to proceed with delete.
- Please refer Create Schema mapping steps for further process.